Loxley Group
Fort Mill, SC
PHASE 1
This is the initial phase where we have conversations with our client to discuss the challenges they’re facing with their home and brainstorm solutions leveraging our design and planning team.
What challenges is our client leveraging us to solve?

-
Increase livable square footage by adding a third level to the home.
-
Reinforce beams and stairs to ensure long-term structural stability.
-
Design a bathroom with integrated closet space for added functionality.
-
Create a compact kitchenette that maximizes space and efficiency.
PHASE 2
(Design & Planning)
Areas we're renovating and details we'll work on
Kitchenette:
-
Custom cabinets
-
Countertop & backsplash
-
Beverage cooler
-
Lighting fixtures
-
Flooring
Bathroom:
-
Custom vanity & Storage
-
Free standing shower
-
Tile (floor & walls)
-
Lighting
-
High end finishes

We started the project with a walk-through of the home, taking time to listen, observe, and understand the goals for the renovation. That first meeting set the foundation for every decision that followed.
We completed detailed measurements and 3D scans to get a clear understanding of the existing structure. This step gave us the accuracy we needed to plan confidently and design with intention.


Existing layout no 3rd level.
Proposed layout, adding a full 3rd level.


We created 2D layout options to explore how the space could be reconfigured. These drawings helped us study flow, function, and overall use—setting the groundwork for the design ahead.
We met with the homeowners to review design concepts and narrow down material selections. These meetings were key to shaping the look and feel of each space


We pulled together a moodboard and selected materials that balanced function and comfort for the bathroom. The palette focused on soft tones, clean lines, and textures that brought warmth to the space while keeping it fresh and modern.

We developed a bathroom render to bring together layout, fixtures, and material choices. Seeing the space in context helped confirm design decisions and ensured the final look would feel both clean and calming.
We created a render of the kitchenette to visualize how the finishes, layout, and storage would come together. This view helped us fine-tune details and ensure the space felt light, functional, and cohesive with the rest of the home.
.png)
PHASE 3 "CONSTRUCTION"
With the dumpster in place, demolition is officially underway. This marks the beginning of transforming the space—removing what no longer serves, so we can start building with intention.


Framing lumber and subfloor panels are on site, signaling the start of structural work. With supplies ready, we’re moving from demo to build—laying the groundwork for what’s next.
Clearing out the old to make way for the new.

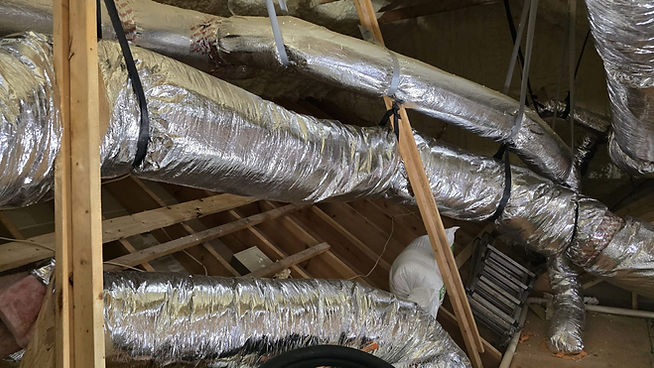
Moving ductwork to improve airflow and fit the new design.
Adjusting duct placement to optimize ventilation and space layout.


Building the structural framework to shape the new spaces.
Setting up temporary stairs to provide safe access during construction.


Constructing the floor framework to support the new flooring.
Building the roof structure to protect and shape the home.


Installing pipes and fixtures to ensure proper water flow throughout the home.
Building the skeleton of the home to set the foundation for the design.


Constructing the framework and laying the subfloor to create a solid base.
This walkthrough captures how far the space has come—from open framing and utility rough-ins to defined rooms and structural transformation. With each step, the layout takes shape and the vision becomes more tangible.


Building the structure and installing the subfloor to prepare for the next steps.
Removing the old roof to make way for the new structure.


Building the framework for the new addition at the back of the house.
Framing the new addition at the back of the house, shaping extra space.

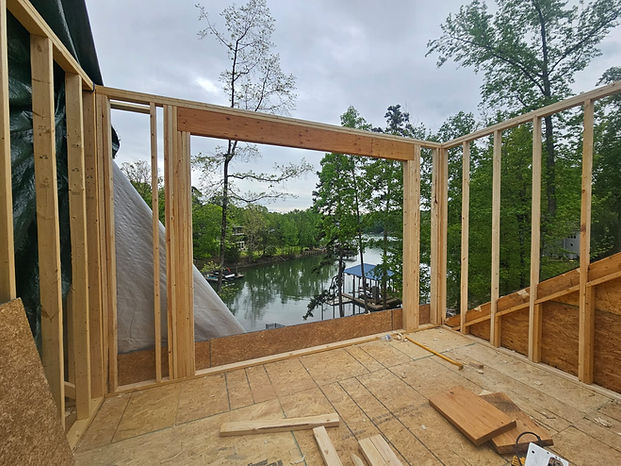
Installing LVL beams to provide strong structural support.
Placing engineered beams to reinforce the structure.


This video walkthrough shows how the second-level addition is coming together—from new rooflines and exterior walls to interior layout and window openings. Every step is getting us closer to the finished vision.
Building the framework that shapes the home’s layout.


Putting up the structural framework to define the space.
Constructing the skeleton that shapes the entire space.


This video gives a full look at the progress inside—the framing is complete, the rooms are mapped out, and the design is coming to life. Every step brings us closer to finish materials and final form.
Here’s a full look at the exterior as dormer construction moves forward. This addition is a key part of the transformation—and we’re beyond excited to see it take shape.


Windows are in, trim is painted, and the new elevation is coming together beautifully. This transformation is really starting to show—and we couldn’t be more excited.
Trim is painted, windows are in, and the space is starting to feel complete. Every detail is moving us closer—and we’re excited to see it all take form.


With windows installed and trim work finished, the space is starting to reflect the vision we’ve been building toward. Each room is finally taking shape—and we’re getting close.
Installing durable metal roofing for long-lasting protection and modern look.

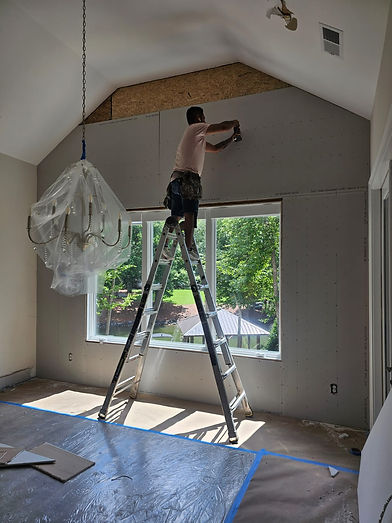
Installing drywall to form the walls and ceilings.
Delivering materials on site to keep the project moving.


Installing insulation to improve energy efficiency and comfort.
Adding insulation to keep the home cozy and energy-efficient.


Putting up drywall to shape the walls and ceilings.
Putting up siding to protect and finish the exterior.


Installing drywall to create smooth walls and ceilings.
Adding soundproofing to keep the space quiet and comfortable.


Installing drywall designed to handle moisture and protect the walls.
Sharing the current progress and key updates from the project.


Drywall is up, shaping the rooms as the project moves forward.
Durock installed and ready for tile work.


Ready for trim and flooring.
Beginning to add trim for the finishing touches.


Installing drywall to create the walls and ceilings.
Getting the floors ready for installation.

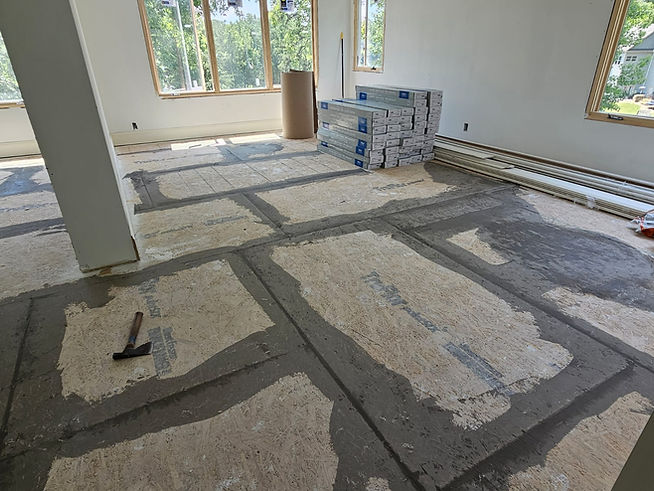
Prepping the surface to ensure a smooth flooring install.
Materials have arrived on site to keep things moving.


Laying down new flooring to update the space.
Project walthrough

Bathroom upgraded with new lightings and tiles
Flooring Installation Completed


Project Update
Laying down new flooring to update the space.


Project Walkthrough
– Full Renovation in Progress
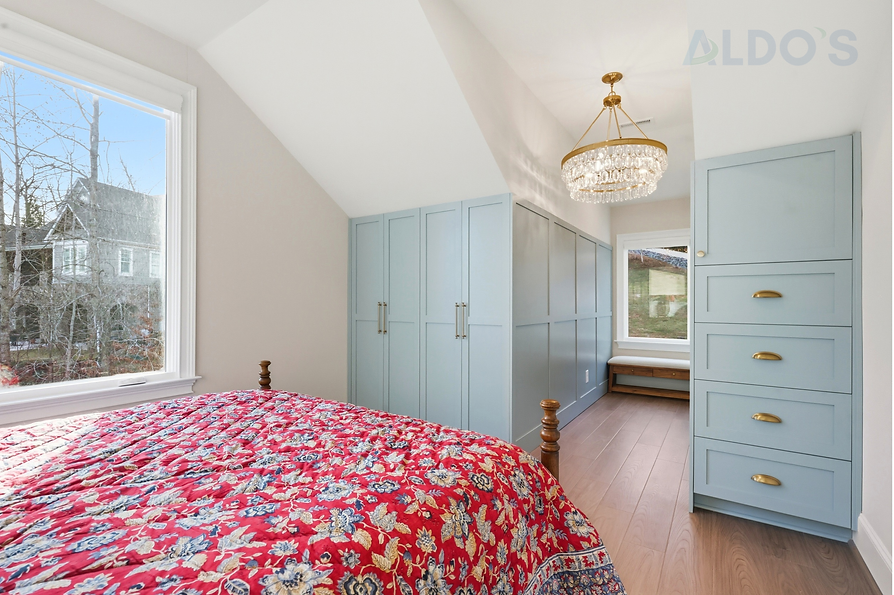
Excited to share with you the finished project!


