Active Project #4: Davidson, NC
PHASE 1
This is the initial phase where we have conversations with our client to discuss the challenges they’re facing with their home and brainstorm solutions leveraging our design and planning team.
What challenges is our client leveraging us to solve?
-
Convert an unfinished basement into a functional, code-compliant living area.
-
Integrate new HVAC, electrical, and plumbing systems.
-
Improve layout with framed walls and defined spaces.
-
Ensure proper insulation, ventilation, and lighting.
-
Deliver durable finishes suitable for below-grade conditions.
-
Manage permits, design, and construction efficiently.
PHASE 2
(Design & Planning)
Areas we're renovating and details we'll work on
Basement Build-Out:
-
Framing of new walls, soffits, and room divisions
-
Door openings and structural improvements
Mechanical, Electrical & Plumbing:
-
New HVAC system and ventilation
-
Electrical subpanel and recessed lighting
-
Plumbing for bathroom and optional wet bar
Interior Finishes:
-
Insulation and full drywall installation
-
Interior doors, trim, and paint
-
Vinyl plank flooring throughout
Bathroom Installation:
-
Shower, vanity, and fixtures
-
Accessories and final connections
Project Management & Completion:
-
Permits, planning, and supervision
-
Final cleaning and turnover

During our initial visit, we walked through the home to better understand the clients’ vision and identify key opportunities. That walkthrough laid the foundation for a focused and functional design plan.
We developed 2D layout options to explore different configurations and improve flow and functionality. These drawings guided our next steps in planning.


We met with the homeowners to review layout options, materials, and overall design direction. These sessions helped refine the plan to align with their vision and priorities.
RENDERS


PHASE 3
(CONSTRUCTION)
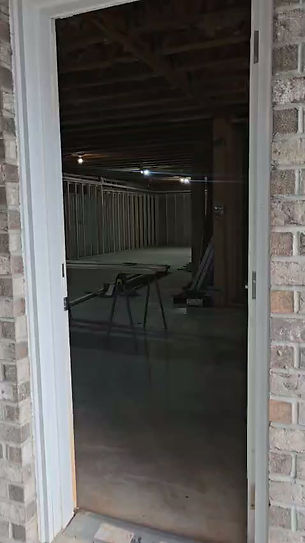
Framing in progress, shaping the new layout.


Framing underway to establish structure and flow.
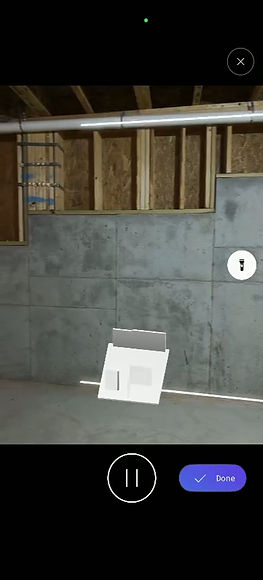
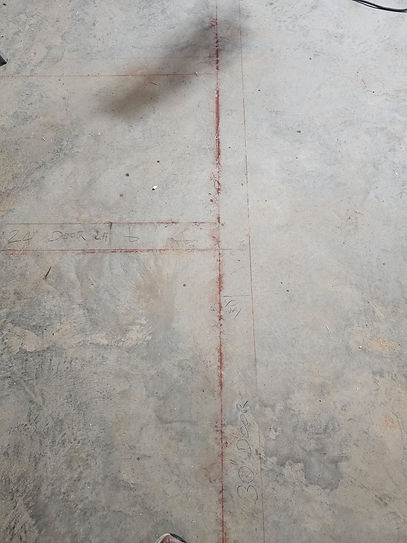
Setting the layout for new interior walls.
Shower base drain positioned and secured.
Mechanical systems installation underway.


Project progress underway.
Shower panels being installed on-site.


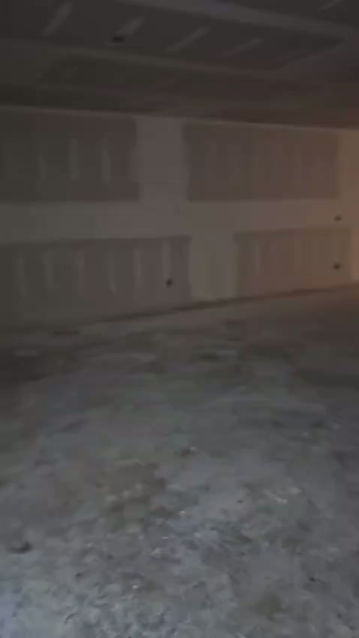
Drywall phase underway on-site.
Ongoing progress across the project site.

Trim materials delivered and ready for installation.
Interior doors delivered and ready for installation.

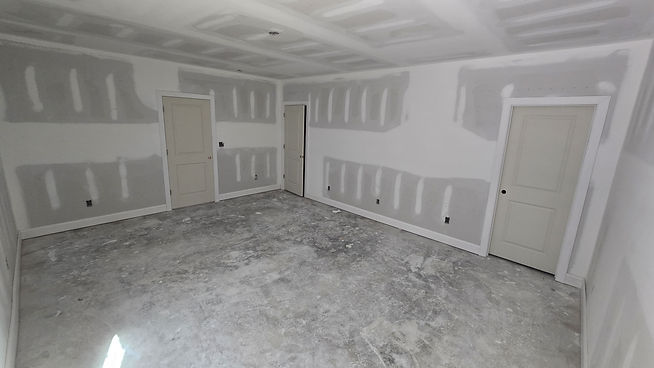
Door and trim installation in progress.
Interior doors and trim being installed throughout the space.


Basement renovation progressing as planned.
Luxury vinyl plank flooring installation completed.


Project progressing toward completion.